Sabriel Smutny/Shutterstock
We may receive a commission on purchases made from links.
There’s seemingly no limit to the levels of ingenuity one can achieve with a Raspberry Pi. We’ve covered many of these feats before — from projects that will make your smart home even smarter to a myriad of ways you can upgrade your bedroom – but one particular GitHub user went above and beyond. Simone Marzulli decided to build his own local AI agent and then taught said agent how to live and work on a Raspberry Pi 5. Quite impressive, if you ask us.
Marzulli’s main goal was a simple one, at least on paper: nothing leaves the Raspberry Pi. That literally means he didn’t want any AI processes offloaded to external services; he wanted to safeguard his user data, and we don’t blame him. Furthermore, Simone wanted all these internal scripts to be powered by open large language models (LLMs), and he wanted his AI bot to be powered by voice commands.
Marzulli then invested in a small chassis, display, and fan for his Pi-powered agent. His finished creation — a smart display of sorts he calls Max Headbox — is pretty incredible.
A screen-head assistant for your desk
Max Headbox was designed to be an emotive, screen-based AI bot that displayed a face (created using GIMP to animate one of Microsoft’s Fluent Emojis) and would react to voice commands once a wake word was spoken. Marzulli even set up touchscreen functionalities, where a tap would cue the system’s microphone to start his spoken prompts.
Another tap would stop the recording, and he could also tap while the LLM was responding to cancel the request altogether. He opted for a simple interface, too, with rotating, colored ribbons as his three main indicators: ready for wake word (blue), voice is being recorded (red), and LLM is running (rainbow).
As far as what open models were used, Marzulli chose Qwen3 1.7b for the agentic model (the decision-making part of Max Headbox) and Gemma3 1b for the conversational model (how the bot emotionally reacted to prompts).
Because of the hardware limitations of the Raspberry Pi, Marzulli had to be strategic when choosing which models to run. Larger LLMs would have tanked the Pi’s CPU and memory, so he found a balance between speed and expressive capability by using models in the 1B–2B parameter range.
How to build your own Max Headbox
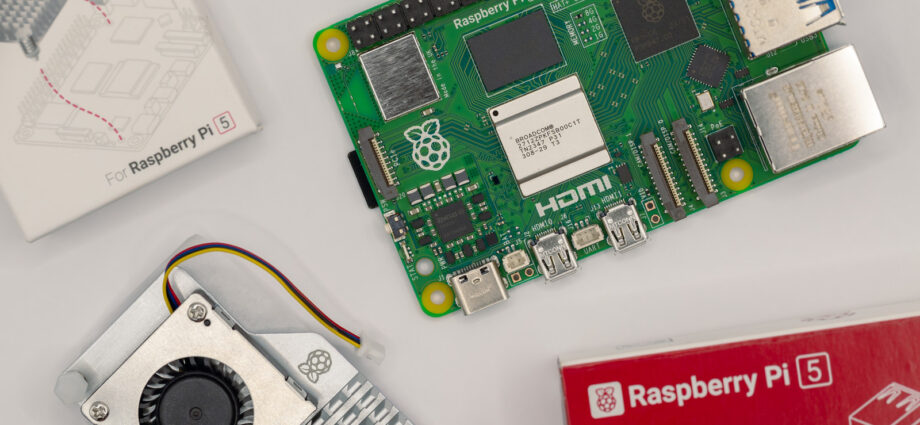
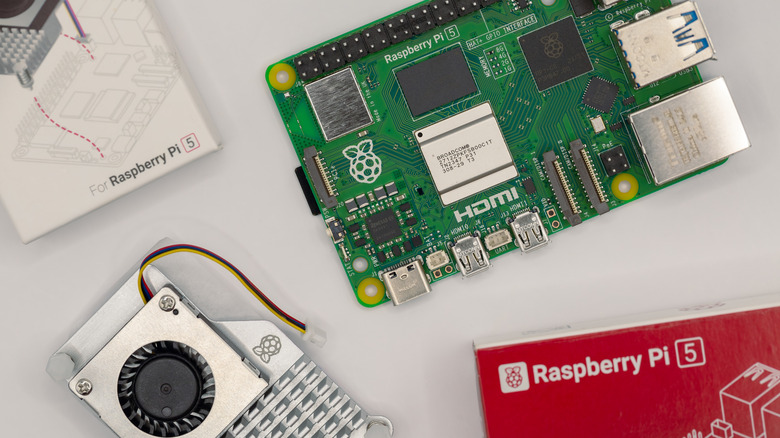
If you’re anything like us, you’ve probably asked yourself at least once while reading this, “Okay, but how do I build one?” Fortunately, Simone Marzulli has the entire project documented on GitHub, complete with parts lists, setup instructions, and configuration details. As far as hardware goes, you’ll need to invest in a Raspberry Pi 5 (Headbox was tested on 16 GB and 8 GB models), a USB microphone (Marzulli recommends this one), and this GeeekPi Screen, Case, and Cooler.
You’ll also need to install a few core components on the Pi: Ruby 3.3.0, Node 22, Python 3, and Ollama. For voice control, Marzulli relied on the Vosk API to handle wake-word detection and faster-whisper for fast, accurate speech transcription. When it comes to building tools the agent can use, the process is straightforward. Create a JavaScript module that exports an object with four fields: the tool’s name, the parameters it accepts, a brief description, and the function that executes the actual task.
If you’ve got a long weekend and enjoy a good DIY challenge, building your own Pi-powered AI companion is absolutely within reach. And if you’re hungry for more Raspberry Pi inspiration, be sure to check out our roundup of the best Raspberry Pi projects to try in 2025.
